It’s crucial to first comprehend why the grout has to be mended. The only thing you need to do if a patch of grout breaks free in the center of a dry floor is to scrape away the loose pieces, clean the area carefully, and then fill it in with similar grout or color scheme caulk, which will be slightly flexible and may stay in place better.
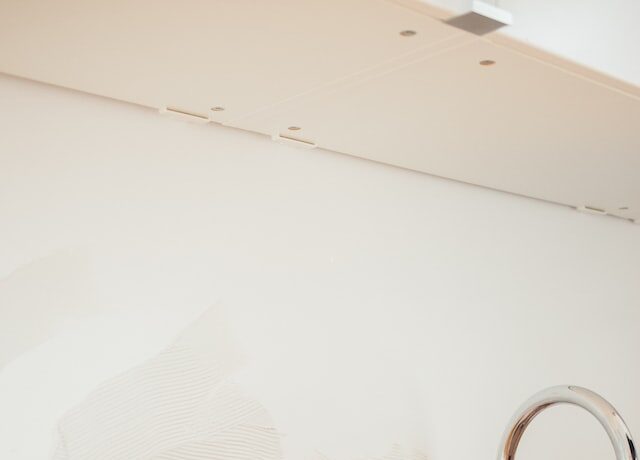
The opposite extreme is when tiles on a shower enclosure are loose and portions of grout have come loose. Those are indications that water has probably seeped into the tile-covered wall. Fixing the grout is a waste of time and effort, particularly if the surface underneath the tile is a sort of drywall.
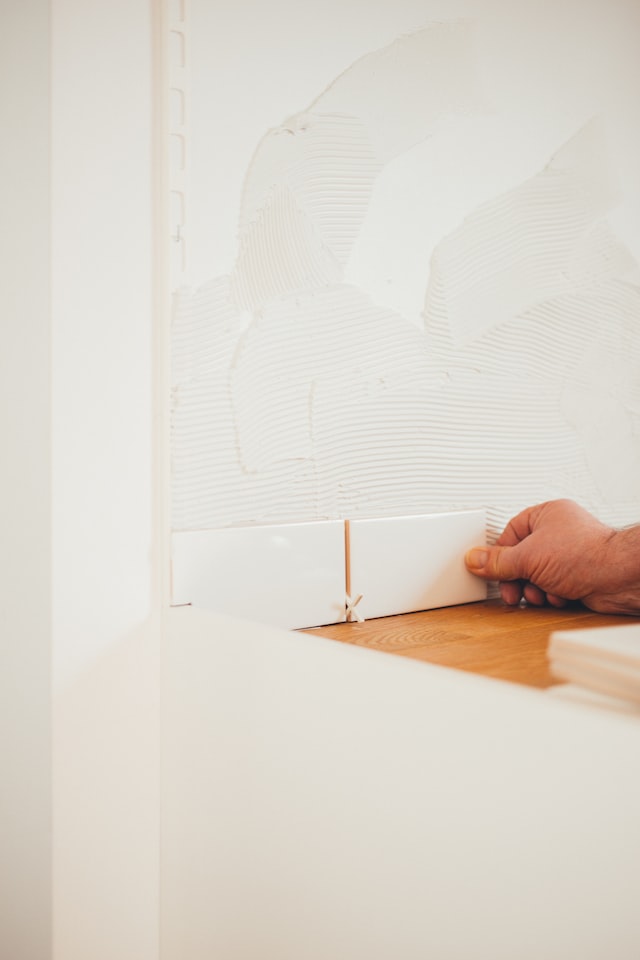
You must take off the tile and start again if you don’t want to have rotting walls and persistent musty aromas according to regrout shower Perth. Maybe the grout is still intact, but it’s discoloured and starting to develop hairline fractures. In that scenario, you ought to remove the outdated grout and replace it. A straightforward piece of equipment known as a grout saw may be able to help you eliminate the old grout if you only need to patch up a small area.
Start with the steel blade to avoid scratching the tile, then change to the carbide blade to clear in-depth and get rid of tough stains. Tile damage is reduced to a minimum when the grout is manually scraped out. Before removing the grout, carefully clean the tile and allow it to dry. Tape a layer of plastic protection over the tile if you’re working on it over a countertop or bathtub to avoid causing scratches. Remove all of the loosened grout and as much solid grout as you can, at least to a thickness of two-thirds, while protecting your eyes. Vacuum up the particles after brushing out the cracks.
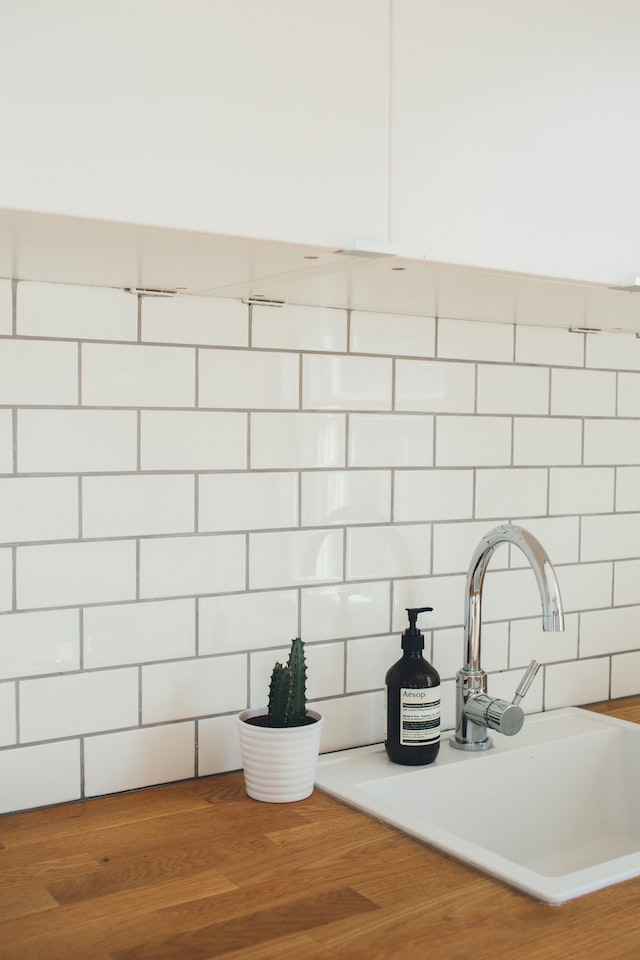
The type of grout you require is based on the distance between each tile. Unsanded grout is required for gaps on walls that are smaller than 1/8 inch. Sanded grout is required for wider gaps but be sure to read the label because grit sizes vary to fit joints of various widths. Either sanded or unsanded grouts are made of cement or goods that have had latex changed.
There is also epoxy grout, which is significantly more difficult to apply but is a fantastic option for regrouting a shower floor or countertops because it is stain and moisture-resistant. If you decide to use epoxy, be sure to carefully read the application directions and think about picking a color that closely resembles the color of your tiles so that if you make any mistakes, they won’t be as obvious.
To the instructions on the package, prepare the grout and, if necessary, spritz the tiles with water. Working on no more than three square feet at once is the safest practice when using cement-based or latex-modified grouts. Press a grout-filled rubber grout float against the wall or floor while wearing rubber gloves, and massage the grout into the cracks by making passes in all directions, including diagonally.
With the float’s edge or a masonry sponge that has been thoroughly rinsed and dried, remove any excess liquid. Move right away to neighbouring locations. When the entire surface has been grouted, give the area the last rinse-over with a clean, wet sponge. When the tiles are covered in a haze from the grout drying, wipe them again. Wipe off any lingering haze with a clear, dry towel after giving it the recommended amount of curing time per the grout container. To prevent water from seeping in and to make your new grout more straightforward to maintain, apply a grout sealant.


